I've painted many walls, including some major successes and a few embarassing failures. But I'm a DIYer, so even when things aren't turning out quite right, I find a solution and keep on moving. Here are some of the tips and tricks I've picked up along the way.
Read more ¿Qué más?: 5 Ways to use spray paint to spruce up your house
Image via iStock
Mask the Fumes

Sensitive to fumes? Add a few drops of vanilla extract to your can of paint, to mask any of those often nauseating paint odors. Just remember to open windows to ventilate the room your working in as well. Even if the smell is more manageable, the chemicals can make you lightheaded.
Minimize Drips
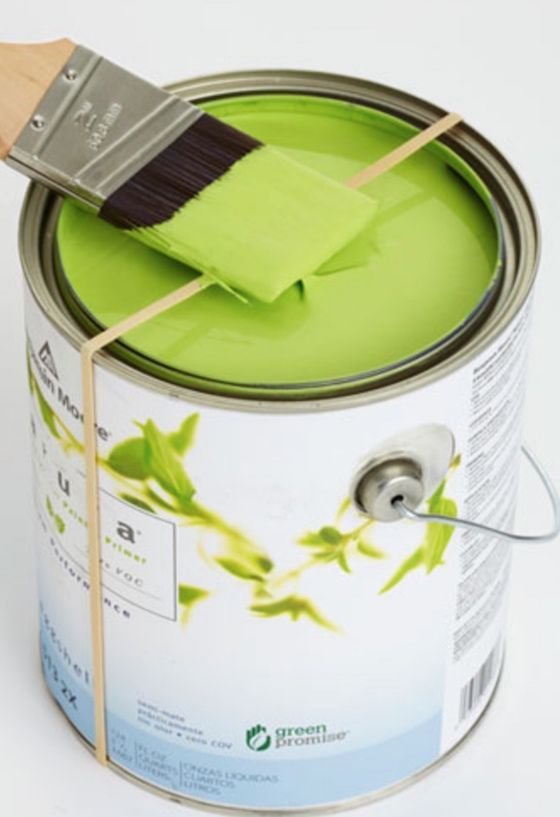
I have a tendency to gunk up the rim of paint cans by using it to swipe excess paint off of my brush, making it pretty difficult to open and close the can later on. Putting a rubber band around the entire can and using it to clean your brush is a much less messy and more efficient method.
Wrap those Brushes
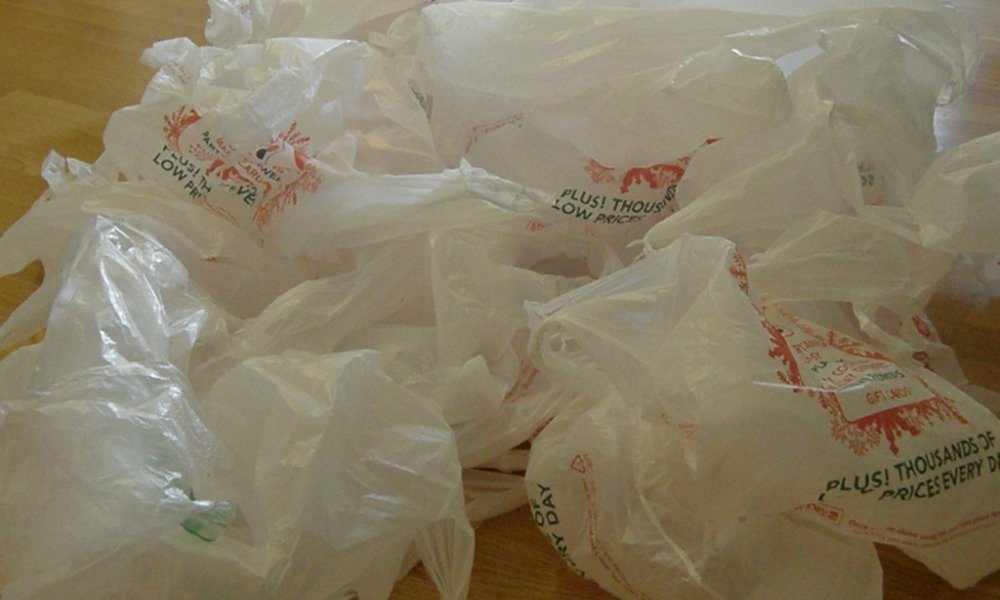
My dad is a retired contractor, and long ago he taught me that if you have to walk away from a painting project for several hours, you can wrap your brushes in plastic bags to keep them from drying out. When you return to them–as long as you've wrapped them tightly enough to keep air out–they'll be pliable and ready to use.
Now De-Gunk Them
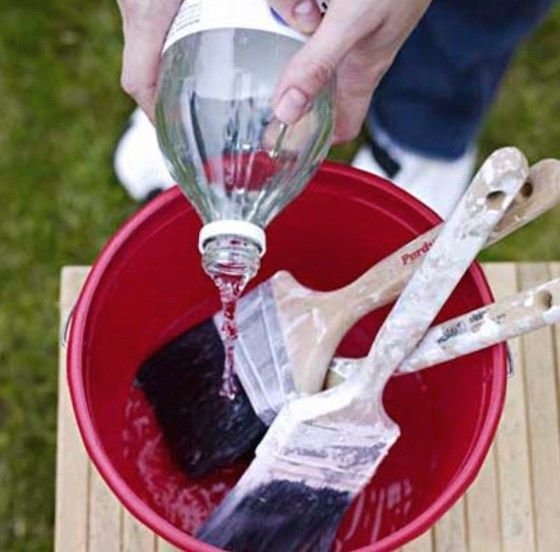
When your project is complete, immediately soak your gunky paint brushes in white vinegar. The vinegar will loosen up any dried paint. Once the brushes are mostly clear of paint, you can rinse them under warm water, squishing them out until the water runs clear. Then just leave them to air dry until next time.
Line Your Trays
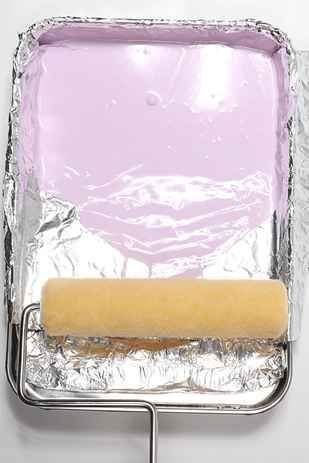
I used to buy new paint trays every time I painted a room, because I never had the patience to clean them. Instead of throwing money away or wasting valuable time scrubbing at dried up paint, you can simply line your tray completely with tin foil, then when you're done, you roll up the tin foil paint and all, and you're done.
Easy Cleaning
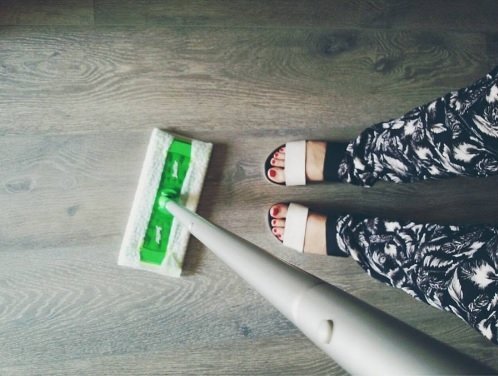
You'll get the best results when you apply primer and paint to completely clean, dust-free surfaces, but scrubbing down walls isn't easy. You can use your sweeper stick and pads to quickly wipe off every surface.
Fake it Like the Pros
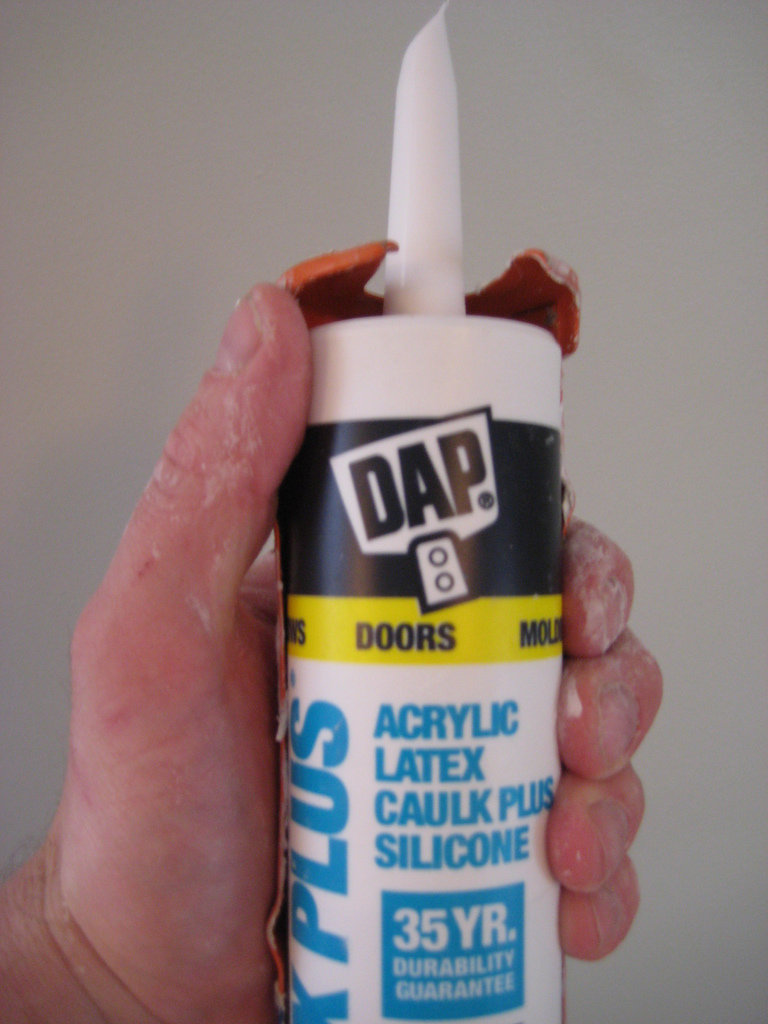
It's tricky to get a perfectly clean where walls meet trim. Some painters can do it with a trim brush, but it takes a ton of skill. A quick fix often used by the pros is to go over your line with a thin layer of caulk, then smoothe it out so everything blends in nicely.
Protect Surrounding Areas
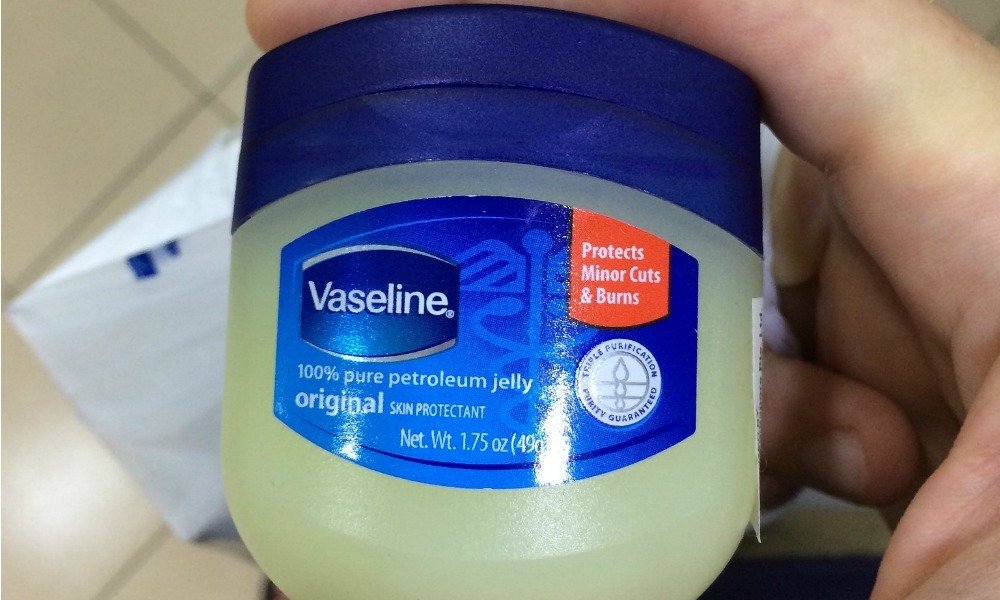
You know how if you put lotion on your hands before you apply nail polish, it'll prevent the polish from sticking to your skin? Well, you can use the same concept when painting your walls. Just apply a thin layer of petroleum jelly wherever you don't want the paint to stick. For example, in that teeny crevice where the window and wall meet up.
Use Your Smartphone

When you first select your paint colors, take a picture of the swatch that clearly shows the name and brand of the hue you've selected. That way, if you run out of paint or need a touch up and you've already gotten rid of the original can, you'll have a reference handy.
Choose Color Wisely
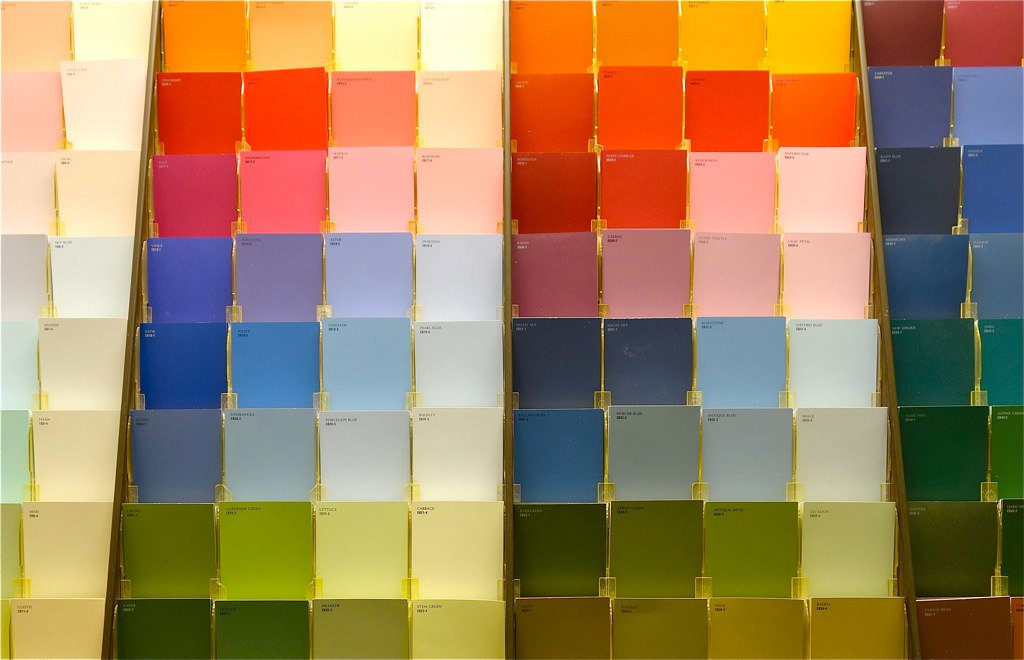
I love a Day-Glo hue as much as the next girl, but I once made the mistake of letting me husband select a true lime green for our kitchen walls and had to live with it for more years than I care to admit. On the paint chip, I thought it was more of a celadon, so I went with it, but ended up being a shade that annoyed me for a very long time. If you're thinking bright and bold, consider scaling back just one hue so you don't regret your decision after you've put hours into perfect paint application.


