Christmas is one of my absolute favorite times of year and one of THE most special things about the Holiday Season, to me, is spending time with friends and family. Last year, one of the best times I had during this month was one very special night when I invited a bunch of people to my house and we spend hours talking, eating and enjoying my delicious chocolate-coconut Christmas cake pops.
Originally invented by baking blogger Bakerella, her cake pops are amazing but a little bit too complicated for me. Although the assembly of the delicious cakey treats takes a little while, I created my own version with the guidance of this YouTube video but gave them some Latin flair by using dark chocolate and coconut flakes. My whole family LOVED these and are begging me to make them again. Try them for yourself and I guarantee you'll be the most popular baking lady, too!
Read more in ¿Qué más? 7 Traditional Latin cookies to enjoy this Holiday season (RECIPES)
Chocolate-Coconut Christmas Cake Pops
Prep: 10 minutes__Bake:__ 30-40 minutes, per cake box instructions__Cooling:__ about 2 hours__Assembly:__ 2-3 hours
Ingredients:
1 box of dark chocolate cake
1 cup chopped coconut flakes
1 can of dark chocolate icing
3-4 cups of dark chocolate chips
3 teaspoons of virgin coconut oil
48-52 lollipop sticks
assorted Christmas-colored sprinkles, edible glitter & cookie toppers
large block of styrofoam
Get the full recipe directions in the slideshow, below!
Image via Irina Gonzalez
Step 1
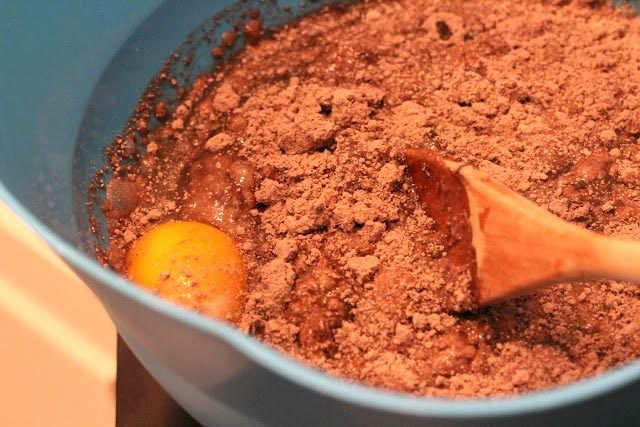
Since you're using a simple chocolate mix, all you really have to do is add your ingredients into a large bowl. Follow the directions on the box, which typically call for a couple eggs, water and olive oil.
Step 2
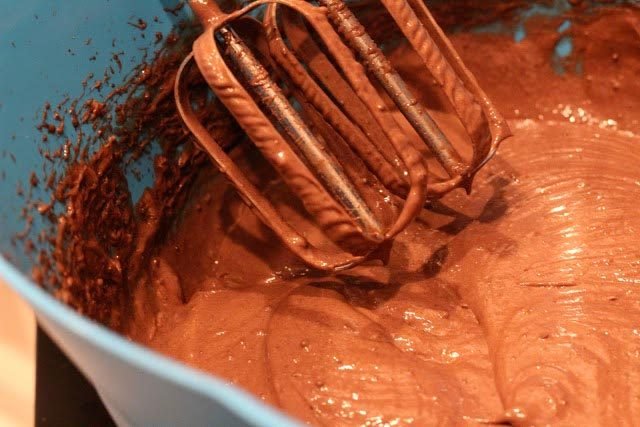
Using a hand mixer or a standing mixer, mix up your chocolate cake. Then, add in your cup of chopped coconut flakes and mix well again, until they are well blended.
Step 3
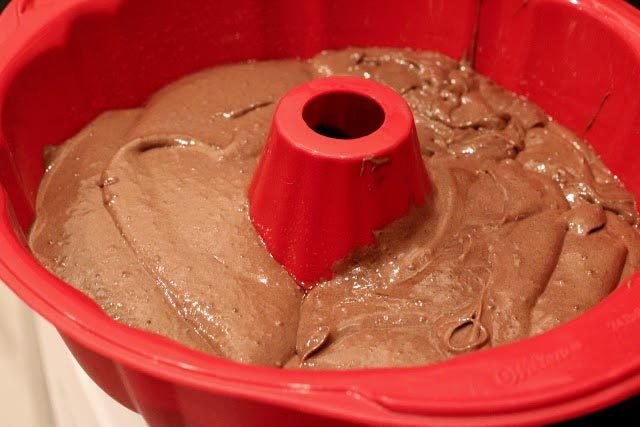
In your favorite cake pan (I used a bundt pan), pour in your mixed dark chocolate cake with coconut flakes. Preheat your oven and bake, following the directions on the box again (typically at 350ºF for about 30 to 40 minutes).
Step 4
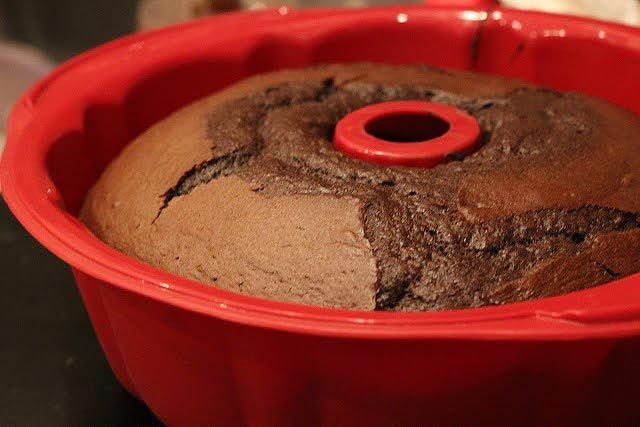
Yum! Doesn't that look delicious? Once your cake is baked, let it cool for about half an hour in the fridge before taking it out of the pan.
Step 5
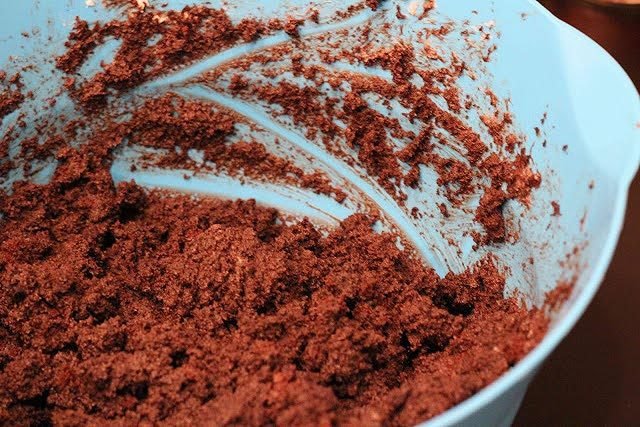
After your cake has cooled, use your (washed) hands to take it out of the pan and crumble it back into your large mixing bowl. Then, take your can of dark chocolate icing and mix it into the crumbled cake. Mix it all together thoroughly until it forms a creamy paste.
Step 6
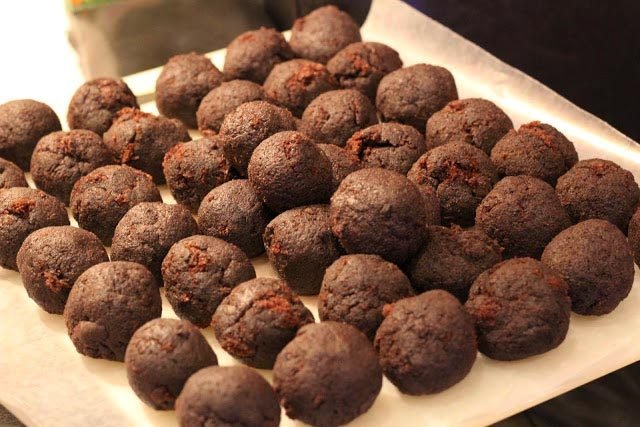
Using a cookie scoop or even a tablespoon, begin by scooping out balls out of your cake-icing mixture and rolling them into a rounder shape. Continue to do this until you are finished with your entire mixture, about 48 to 52 cake balls.
Step 7

Next, take about a cup of your dark chocolate chips into a smaller bowl and add a teaspoon of coconut oil. Melt in the microwave (about 30 seconds) or over a double boiler (a couple of minutes). Next, one by one, take a lollipop stick, dip the end into your melted chocolate and stick it into a cake ball. Repeat until each cake ball is equipped with a lollipop stick, then put them all into the freezer for about an hour to cool.
Step 8
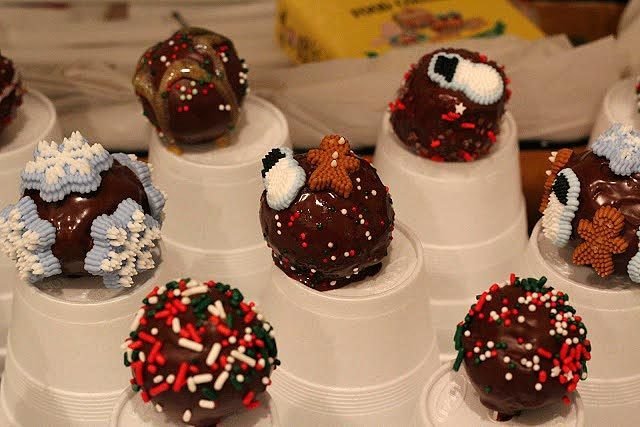
Now, this is the FUN step! Take the rest of your chocolate chips, add in the coconut oil and melt it together. I recommend doing this last part over the sink: Taking one by one out of the freezer, dip the cake pop into the melted chocolate and cover fully. Finally, decorate the cake pop with your assorted sprinkles, edible glitter and/or cookie toppers. Repeat until all cake pops are fully decorated.
Step 9
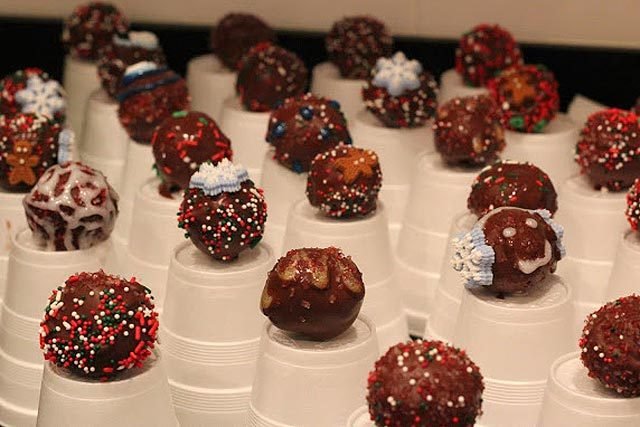
One by one, as you decorate your cake pops, take your styrofoam and stick the bottom into it so that each cake pop is standing upright to allow for proper chocolate cooling. As you can see, I couldn't find a block styrofoamso I ended up using styrofoam cups instead. This worked fine but I highly recommend that you get the proper stuff.
Step 10
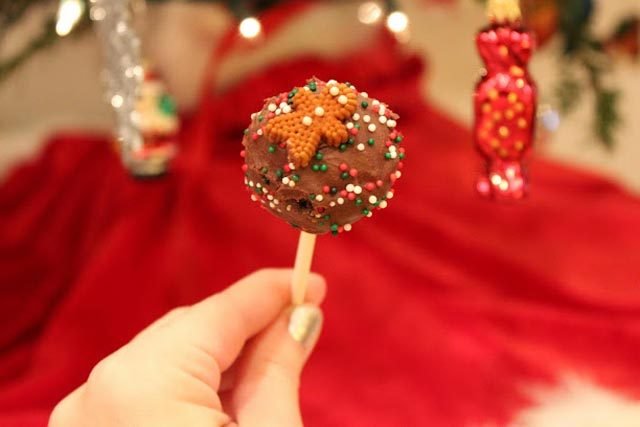
Once your cake pops have cooled (about another 30 minutes), simply serve to all of your guests! Aren't they adorable? I'm betting your guests will love these as much as mine did. In fact, I'm still getting requests to make these for EVERY party! I know the assembly is a bit time consuming, but this is when little hands come in–get your kids to pitch in and this simple recipe goes from easy to SUPER easy! Yum.

